Repairing the Steering Column
Updated; May 12, 2009
To start off;
The steering column I'm working on is from a 1975 914. From what I understand, the earlier 914's were different, but I've no idea in what manner.
"Up" and "Down"; When the assembly is mounted in the car it's pretty much horizontal. When I refer to "up", I'm talking about the section that is closest to the steering wheel. When I refer to "down", I'm talking about the section closest to the firewall (it may be more accurate calling it the floor kick board).
The photos are out of sequence! Although I shot some photos while taking it apart, most of them are from when I put it back together. So please keep that in mind.
Some stuff I just didn't shoot photos because I felt you could just figure it out.
I did this as one of the "side projects" working on my car. I've never driven my car and it may be better than a year before it ever moves under it's own power. However I knew there were problems due to the "flopping around" of the steering wheel. It just felt like the bearings were totally messed up or the aluminum housing was damaged. So I decided to take it apart.
Looking back on it all, I most likely took the whole thing apart more than was really required to just replace the bearings. So I guess this could be made shorter, but while sitting down and writing this, I think it's best to just show as much as possible. It may help with some other problem you have.
While doing research on this I found comments about a "Quick Fix" kit and also references to shimming. I know nothing about this and didn't feel a need to follow up on something that I didn't need to do.
Taking out the assembly;
Remove the horn button by rotating it counter clockwise.
Remove the steering wheel bolt and slide off the steering wheel. (not easy, but I'll leave it up to you)
Remove the bolt at the u-joint for the intermediate steering shaft and make sure the u-joint can slide on the splines.
At this point, I removed the lower dash cover, but I'm not really sure it's required. It is just five phillips head screws and I'd bet it's removal makes everything else easier.
On the back end of the steering assembly there are three electrical connections that slide off. There are also two rubber tubes that have to be slid off (windshield squirter?)
While lying on your back, you should see the four allen head bolts that hold the assembly to the underside of the dash. Remove them and the assembly should come free.
Taking the assembly apart;
Remove the steering wheel nut and washer (if you put it back on).
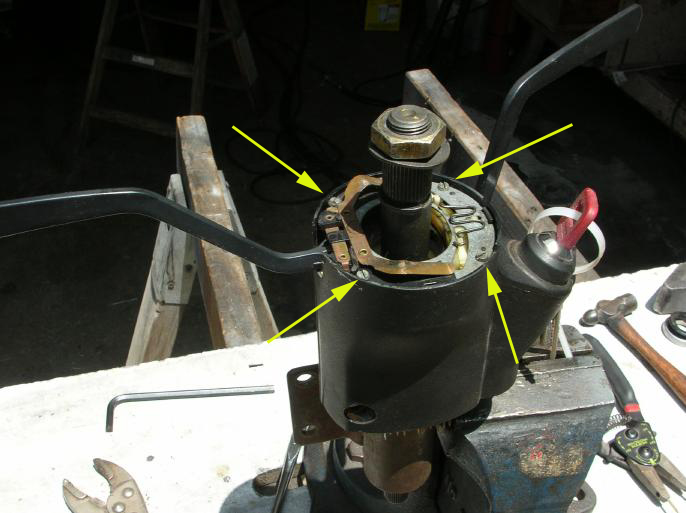
Use a screw driver to pry off the clip (which the steering wheel would rest against).
Un-screw the four screws pointed at with the yellow arrows. They will not come completely out, but only unscrew about 1/2 inch.

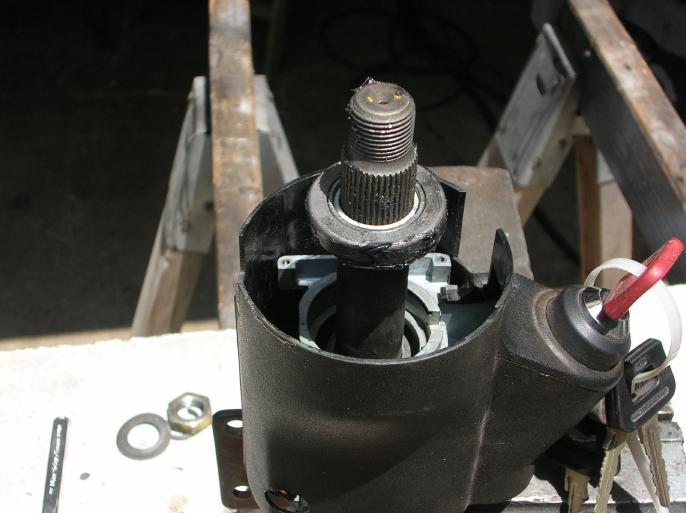
At this point you can pull the switch assembly straight out and the photo above shows what you get.
Now there is an interesting point to be made here. If you were just replacing a damaged switch, you could do all this while the steering column assembly is still in the car! But don't forget that you still have to pull off the two rubber hoses.
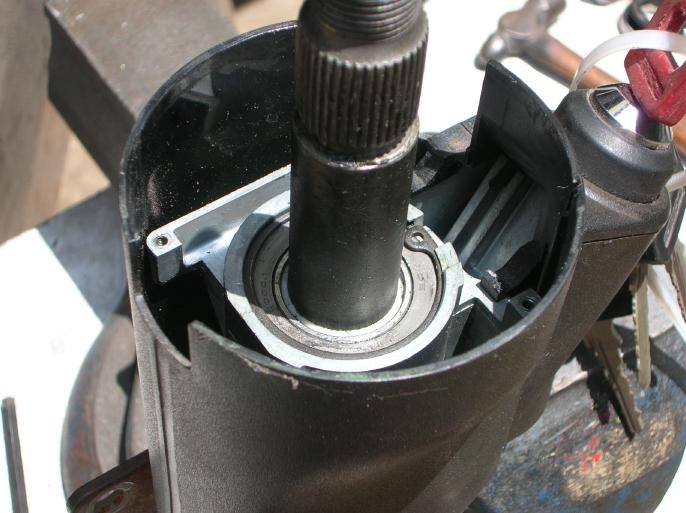
Remove this circlip at the "upper" bearing.

Remove the two circlips shown, at the lower bearing. (as noted at the top of this write-up, this is out of sequence and shows the new bearing)
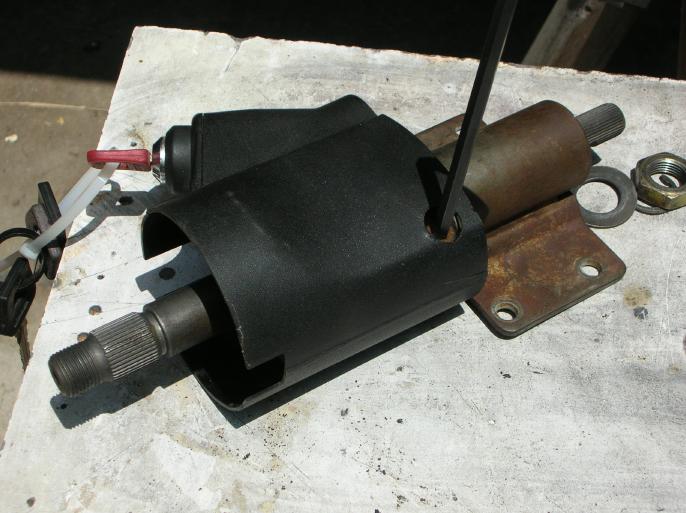
Remove the allen head bolt that holds the aluminum housing to the metal bracket. Once the bolt is removed, and you have the key lock mechanism in the "un-locked" position, you can pull them apart.
Now this next photo I'm posting wouldn't ever occur in reality. I'm just showing it so you know what's going on. The reason is that the plastic cover has to be placed over the aluminum housing before it's attached to the metal section!! It can't be added latter.

(boy, the "composition" of this photo is crappy!! Sorry.)
On the right side of the metal bracket you can see a black "collar" around the main shaft. That's part of the upper bearing. It gets removed and thrown in the trash.
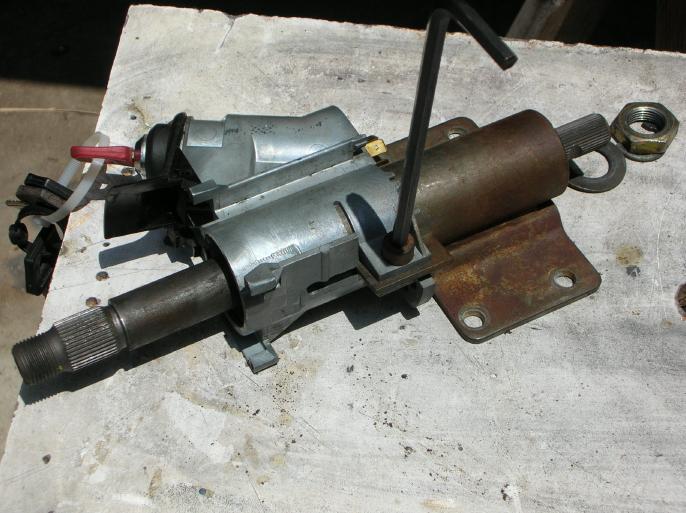
At this point, but the steering wheel nut back on the shaft and "tap" the shaft toward the left. This removes the lower bearing from the metal housing.
Then remove the bearing from the shaft.
Other than removing the "upper" bearing from the aluminum housing, (you should be able to just pull it out with your fingers) that's pretty much it for disassembly.
The bearings;
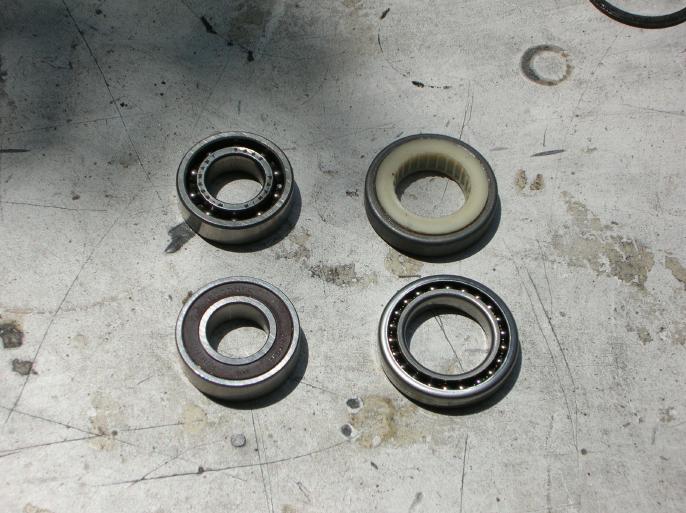
(once again, the "composition" of this is just wrong! I should have had both of the new bearings on the top and the old bearings on the bottom)
The new "upper" bearing is on the upper right. The white nylon piece is the same as the original black piece that was thrown away. It's still available through Porsche (or Pelican Parts) and is part number 911-347-771-02. My local Porsche dealer had it in stock! (most likely due to the fact it's also a 911 part)
My old "upper" bearing was a floppy piece of crap!!!!!
My old "lower" bearing (upper left) wasn't really in bad shape. This bearing is no longer available through Porsche.
The new "lower" bearing is one I got at a local bearing supply. It's a "Nachi" (never heard of them) sealed bearing and is part number 6003-2NSE. It's a direct replacement and I paid about $15 for it.
Inspect the aluminum housing for any cracks! In particular around the upper bearing.
Putting it back together;
(Ya, I'm going to show some of the same photos again, just because I think saying that "assembly is the reverse the disassembly" is a cop out)
Install the lower bearing in the metal housing and then the shaft in the bearing (or swap the order, it doesn't matter). Be careful that you are not applying a load on the bearings themselves while doing this.
Install the two circlips.
Put the plastic cover over the aluminum housing and install it. Once again, make sure the key is in the "un-lock" position.
Install the upper bearing with the nylon collar facing downward.
What I found was that the upper bearing was a "snug" fit within the aluminum, but not something that required hammering or press work.
The nylon collar section of the bearing didn't want to just slide on the shaft and what I did was use a drift punch and small hammer to tap the inner race of the bearing. I worked slowly around the race and constantly checked that it was straight. It was slow, but went smoothly.
As a side note (from the bearing supply guys); this type of bearing is cheaply made! The outer race is just pressed steel, not a "turned" hardened steel section (like the inner race). You don't want to hammer on the outer race in any way!!!!!
Install the circlip that holds the upper bearing in place.
At this point, I feel you can figure out the rest of putting it back together..
Final notes;
If you have a good circlip tool, this job is a real piece of cake. I've got one that does both "inside" and "outside" circlips. If you don't have the correct tool, go out and buy one before starting!!
The total cost was around $48.00 ($32.00 for the upper bearing at the Porsche dealer).
Everything is now snug and there is no indication of play or wobble.
return to my site's entry page
Wes Vann